Plugins Quick Start
Create your own Yaak plugin, in minutes
Plugins are currently experimental and the APIs may change suddenly.
Yaak plugins are written in TypeScript and executed within a NodeJS runtime, alongside Yaak. This means that plugins have access to the full set of NodeJS APIs and NPM package ecosystem.
The first step in plugin development is installing the yaak CLI — a command line utility to help create, develop, and bundle plugins.
1) Install The CLI
Install the Yaak CLI from NPM as a global package.
npm install -g @yaakapp/cli
2) Generate a new plugin
Use yaak plugin generate to create a directory containing an installable sample plugin. This command will prompt for some info, generate the appropriate files, install dependencies, and run an initial build.
yaakcli generate
3) Install the plugin
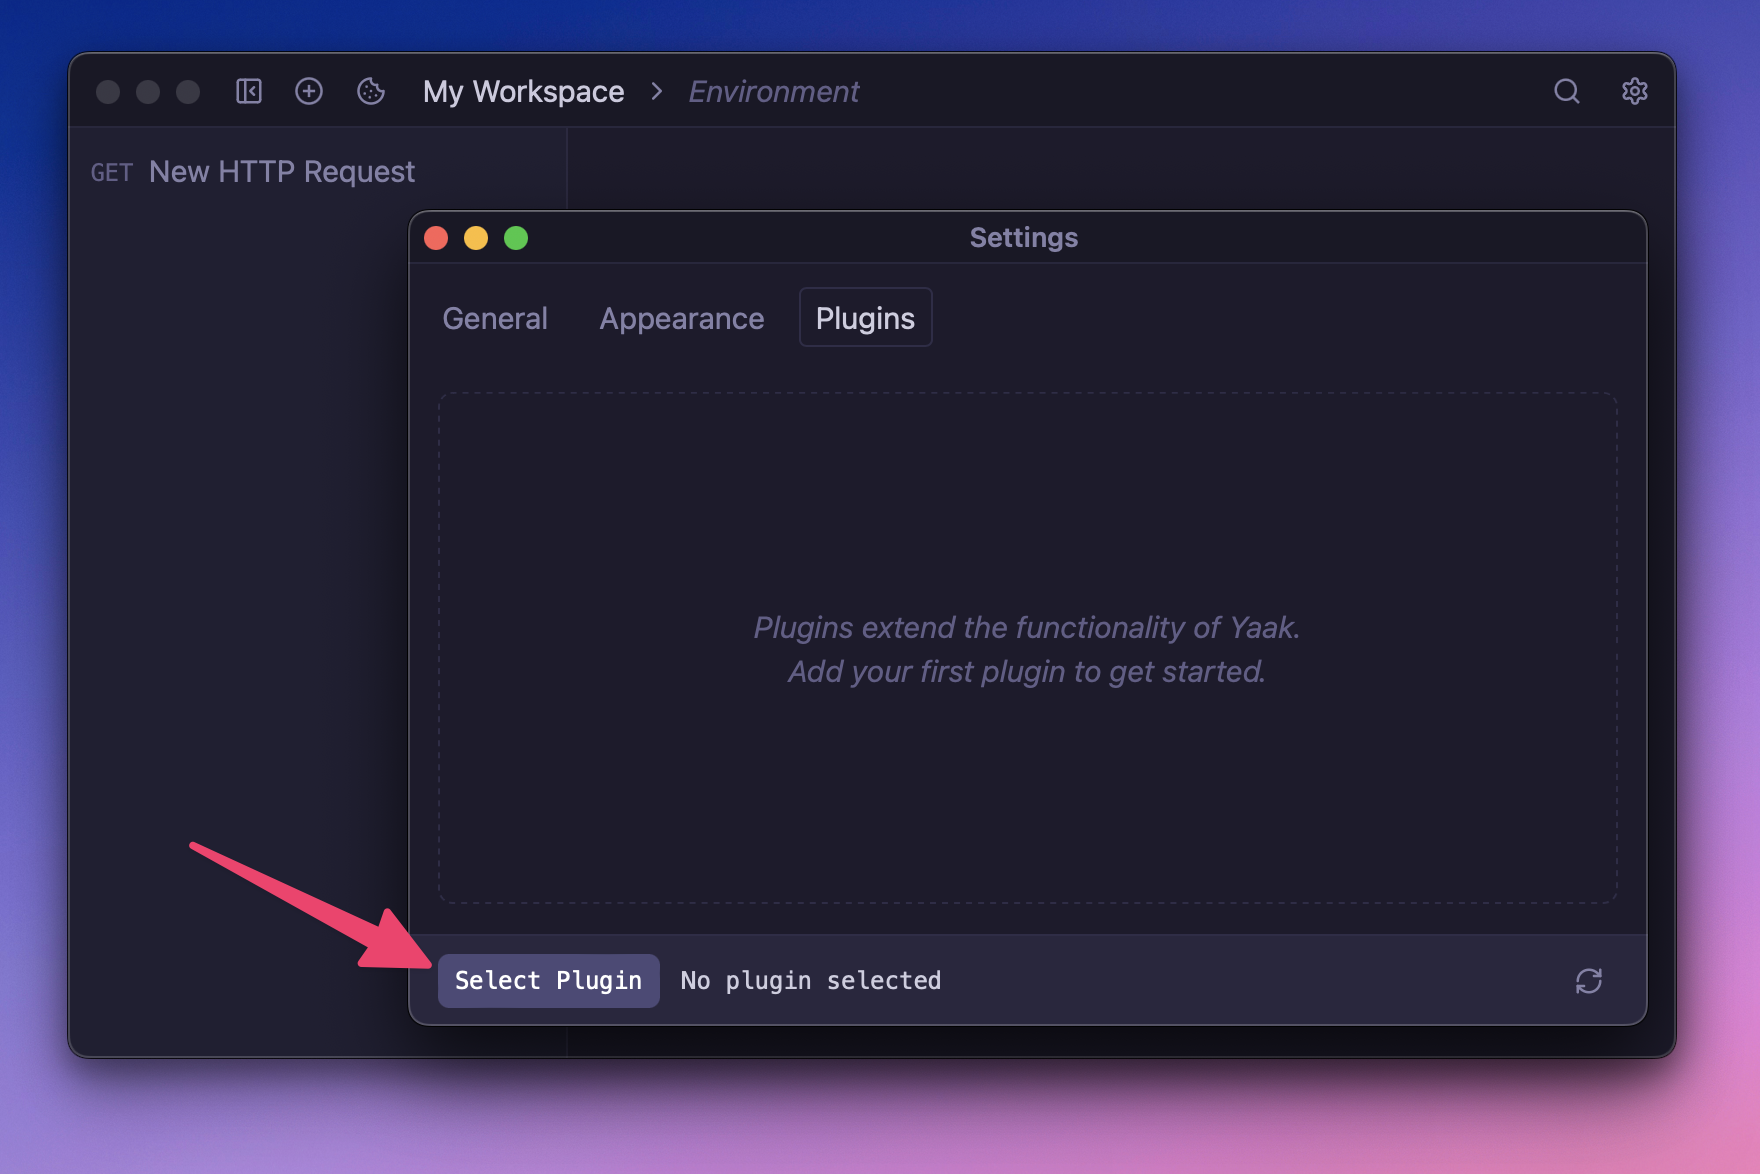
Install the plugin with Yaak from the Settings > Plugins tab. Once complete, Yaak will monitor the plugin directory and reload it on each rebuild.
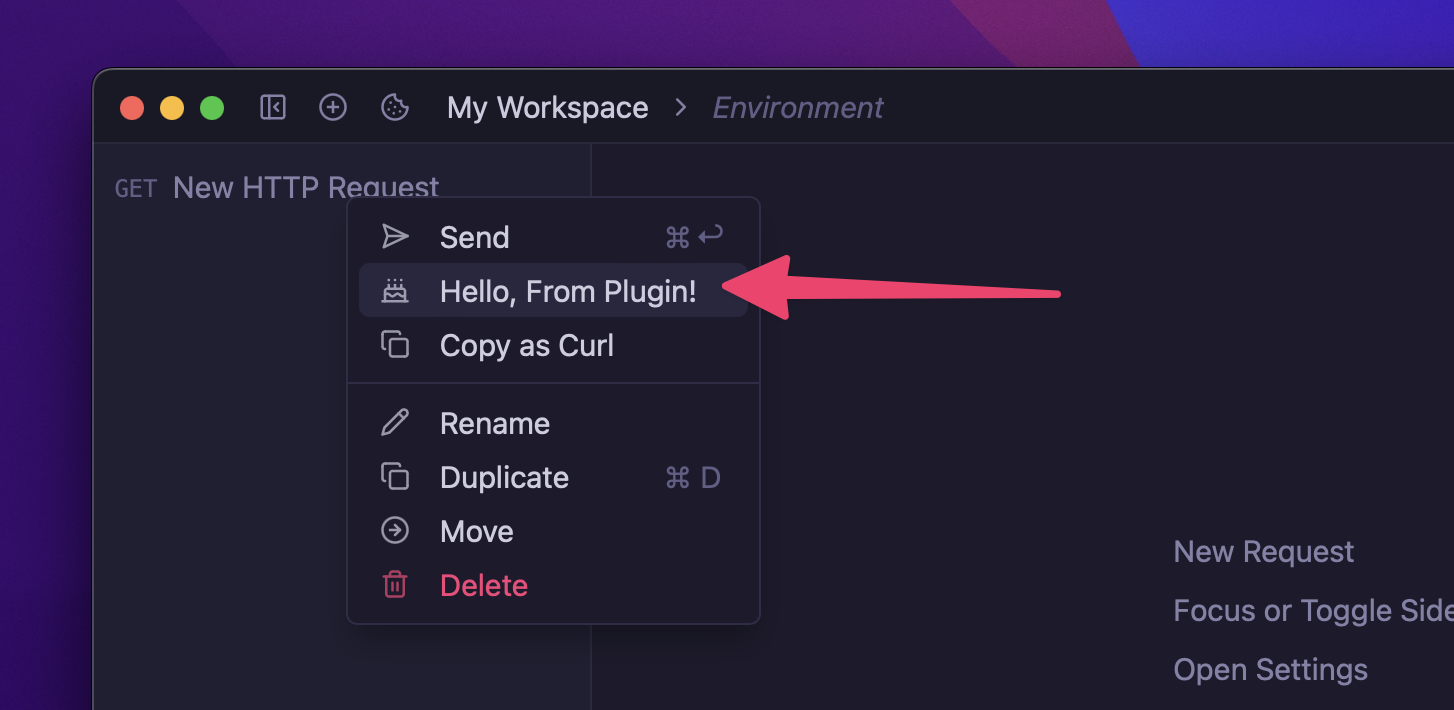
 Once installed, give it a test! The generated plugin adds a dummy action to the request context menu that shows a toast when clicked.
4) Develop the plugin
Now it’s time for the fun part. Use the dev command to monitor the plugin directory and rebuild the plugin whenever a change is detected.
yaak plugin dev
You’ll receive a toast notification whenever the plugin is reloaded.

5) Build the plugin
Use the build command to do a one-time build. This is similar to the dev command, except it does not monitor for changes.
yaak plugin build
6) Publish the plugin
Plugins can be published to the Yaak plugin registry for others to discover and install. This can be done from the CLI.
Prerequisites
- Register a namespace
- Set
package.json > nameto format@{namespace}/{name} - Fill out
package.json > displayName - Ensure a
README.mdexists
Authenticate and publish
First, you’ll need to authenticate with your Yaak account:
yaak auth login
Then, from within your plugin directory, run publish:
yaak plugin publish
Was this helpful?