Bearer Token Authentication
Authenticate requests with access tokens, API keys, and custom prefixes
Bearer Token authentication sends a token in the Authorization header. It’s the most
common method for modern REST APIs, especially those using OAuth 2.0 access tokens or API
keys.
What a bearer token is
A bearer token is a string that grants access to whoever presents it (the “bearer”). The
server doesn’t check who you are, only that the token is valid. It’s sent in the
Authorization header:
Authorization: Bearer <your-token>
The token itself has no required format. It can be an opaque random string, a JWT, or a personal access token. Tokens usually come from one of three places:
- An OAuth 2.0 flow (short-lived access tokens)
- An API dashboard (API keys, service tokens)
- A developer settings page (personal access tokens, like GitHub’s)
Because anyone holding the token can use it, treat it like a password: send it only over HTTPS and keep it out of plain-text files.
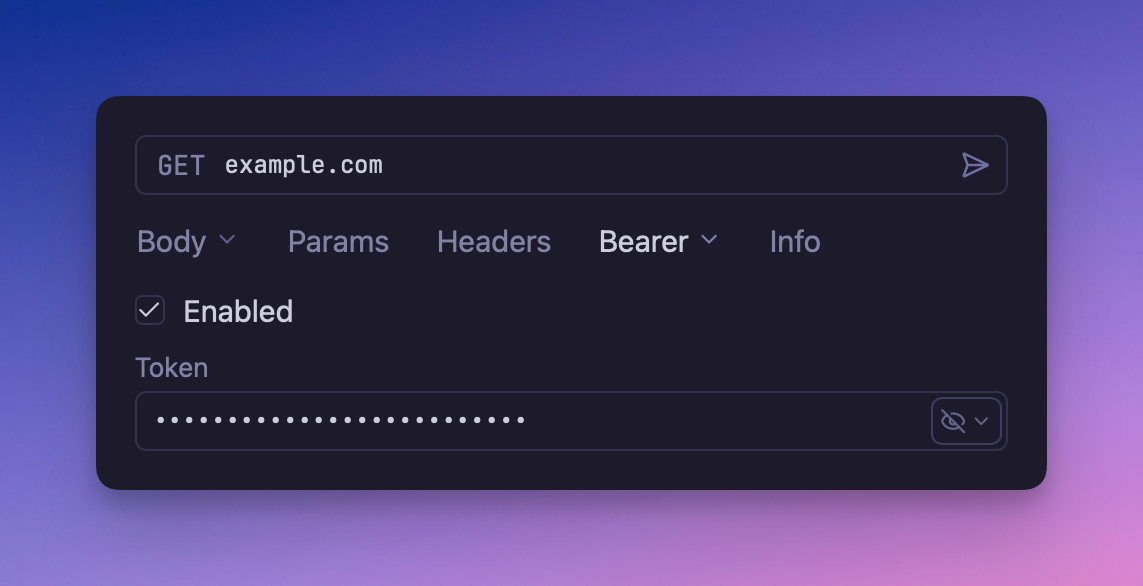
Configuration
Select Bearer Token from the Auth dropdown. Configure these fields:
| Field | Description |
|---|---|
| Token | Your access token, API key, or other credential |
| Prefix | Header prefix (default: Bearer) |
The prefix
The word before the token in the Authorization header is the scheme, and not every API
uses Bearer. Some expect Token, ApiKey, or a vendor-specific word. Yaak’s Prefix
field sets this directly, so a value of Token produces:
Authorization: Token <your-token>
A 401 Unauthorized from an otherwise-correct token is often a prefix mismatch. Check the
API’s documentation for the exact scheme it expects.
GitHub: token vs Bearer
A common point of confusion: GitHub’s REST API accepts personal access tokens with either
prefix. Authorization: Bearer <PAT> and Authorization: token <PAT> both work. GitHub
App JWTs, however, must use Bearer. When in doubt, Bearer is the safe choice for
GitHub.
Bearer token vs API key
The terms overlap. “Bearer token” describes how a credential is sent (the
Authorization header with a scheme). “API key” describes what the credential is (a
long-lived key issued by the provider). Many APIs deliver API keys as bearer tokens.
Others expect keys in a custom header like X-Api-Key or a query parameter, in which case
use Yaak’s API Key auth type instead.
Keep tokens out of your workspace files
Use an environment variable so the token isn’t repeated across requests:
Token: ${[env.API_TOKEN]}
Store the value with the secure() template function to keep it
encrypted, even in workspaces synced to Git.
Fetch the token from a login request
When the token comes from an auth endpoint, there’s no need to copy it by hand.
Request chaining can reference the login
response directly: point a response() tag at the login request with a JSONPath like
$.access_token, and the token is fetched and injected automatically, re-sending the
login request if no response exists yet.
Token vs OAuth 2.0
If your token comes from an OAuth 2.0 flow and needs automatic refresh, use the OAuth 2.0 auth type instead. Bearer Token auth is for static tokens that don’t expire or that you manage manually.
Troubleshooting
401 Unauthorized
- Verify the token is valid and not expired
- Check the prefix.
BearervsTokenis the most common mismatch
403 Forbidden
- The token lacks the required permissions or scopes
Invalid token format
- Ensure the complete token was copied without truncation
- Remove any surrounding whitespace or newline characters
Was this helpful?